How to Organize Travel Photos After a Trip (Before You Forget)
To organize travel photos after a trip, cull them in two quick favorites-first passes, sort the keepers into one album per trip with day-by-day structure, write a one-line note about what was happening in each keeper, and back everything up — all within a week of getting home. The culling takes 30-60 minutes; the notes are the part almost everyone skips and regrets, because the stories fade far faster than the photos do.
Why sort travel photos in the first week home?
Because you are working against two clocks, and only one of them is patient.
The photos themselves are fine. They will sit in your camera roll untouched for a decade if you let them — which is exactly what happens to most people’s travel photos. A typical one-week trip produces 500-1,000 photos on a phone. Multiply by a few trips a year and you get the familiar end state: a camera roll with tens of thousands of images, where finding “that little restaurant in Lisbon” means scrolling for ten minutes and giving up.
The second clock is the one that matters. The stories behind the photos — what the waiter said, why everyone is laughing in that shot, which hike that view came from — decay fast. Memory research has shown for over a century that forgetting is steepest immediately after an event and flattens out later; the fine-grained details go first, and they go within days and weeks, not years. A photo without its story eventually becomes a nice image of a place you can no longer quite explain.
So the deadline is not “organize the photos someday.” It is “capture the stories this week, while you still have them.” The organizing is really just the scaffolding that makes that possible — one layer of the wider system in our guide on how to document your travels.
Here is the full workflow, with honest time estimates. Total: about two hours, spread across the first week.
Step 1: Cull in two favorites-first passes (30-60 minutes)
Do not start by deleting. Deleting one photo at a time forces a hard keep-or-kill decision on every single image, which is slow and exhausting — most people quit after fifty photos. Instead, work favorites-first: you only ever mark the good ones, and everything else simply gets left behind.
Pass one — the fast sweep (20-30 minutes). Sit down with a coffee, open the trip’s date range in your camera roll, and swipe through everything at speed. Your only job is to tap the heart (Apple Photos) or star (Google Photos) on anything that makes you pause. Do not compare, do not zoom, do not agonize — if it earns a flicker of “oh, that one,” heart it and move on. Two to three seconds per photo is the right pace. For an 800-photo trip this pass takes under half an hour and typically flags 100-150 photos.
Pass two — the duplicate cut (10-20 minutes). Now open just your favorites and be ruthless with near-duplicates. You took six shots of that sunset; one of them is the best, and the other five hearts come off. Same for the four attempts at the group photo and the burst of the dog on the beach. This pass usually cuts the favorites list in half.
What is left — commonly 40-80 photos from a one-week trip, roughly 5-10% of what you shot — are your keepers. That number matters: 60 photos is an amount someone will actually look at, and an amount you will actually annotate in the next step. Four hundred is neither.
Two rules that make culling easier:
- You are not deleting the rest. The non-keepers stay in your library or archive. Culling is selection, not destruction, so there is nothing to mourn.
- Blurry beats missing. If a technically bad photo is the only record of a moment that mattered, it is a keeper. You are selecting for memory value, not photographic merit.
Step 2: Build one album per trip, in day order (20-30 minutes)
Keepers chosen, give them a home. The structure that works is boring and reliable: one album per trip, photos arranged by day inside it.
In Apple Photos or Google Photos, create an album and add everything you hearted from the trip’s date range — a two-minute job since you already marked them. Name it with the year first so albums sort chronologically on their own:
2026 Portugal2026-04 Japan — Tokyo & Kyoto(add the month if you take several trips a year)
If your trip had clearly distinct chapters — three cities, say — you can add per-day or per-leg sub-albums, but for most trips the timestamps already keep the single album in day order and one album is enough. Resist the urge to build an elaborate folder taxonomy; every layer of structure you add is a layer you have to maintain, and unmaintained structure is worse than none.
For photos that live as files — camera imports, a shared folder from a friend — use the same idea as a naming convention: YYYY-MM-DD_place_short-description.jpg, so 2026-04-14_kyoto_fushimi-inari-gates.jpg. Date first means files sort themselves; place and description mean a search for “kyoto” finds them in any tool, forever, without depending on one app’s database.
That is the storage layer done. It is also where most photo-organizing advice stops — and where the real problem starts.
Step 3: Attach the story to each keeper (30-45 minutes)
Here is the distinction that determines whether your photos still mean anything in ten years: photo storage and photo meaning are two different layers.
Apple Photos and Google Photos handle storage superbly. Your images are backed up, searchable by place and face, sorted into albums, easy to share. What neither can store is what was happening: that this photo is from day 3, taken right after you got gloriously lost on the way to lunch; that the man in the background taught you the only three words of Greek you know; that this unremarkable plate of food was the best meal of the trip. The pixels persist; the context lives only in your head, and — see the two clocks above — it is already leaking.
So the third step is the one almost everyone skips: go through your keepers, in day order, and write one line for each. Not a caption describing what is visible (“sunset over the harbour” — the photo already says that), but the story the photo cannot tell:
- “Day 2 — the ferry we nearly missed because Anna insisted on one more pastry. Worth it.”
- “Day 4 — this alley is where the wedding parade appeared out of nowhere.”
- “Day 6 — last dinner. The owner brought out a bottle ‘for the table’ and sat down with us.”
One line per photo, 20-40 seconds each. For 60 keepers that is roughly half an hour — the single highest-value half hour in this whole workflow.
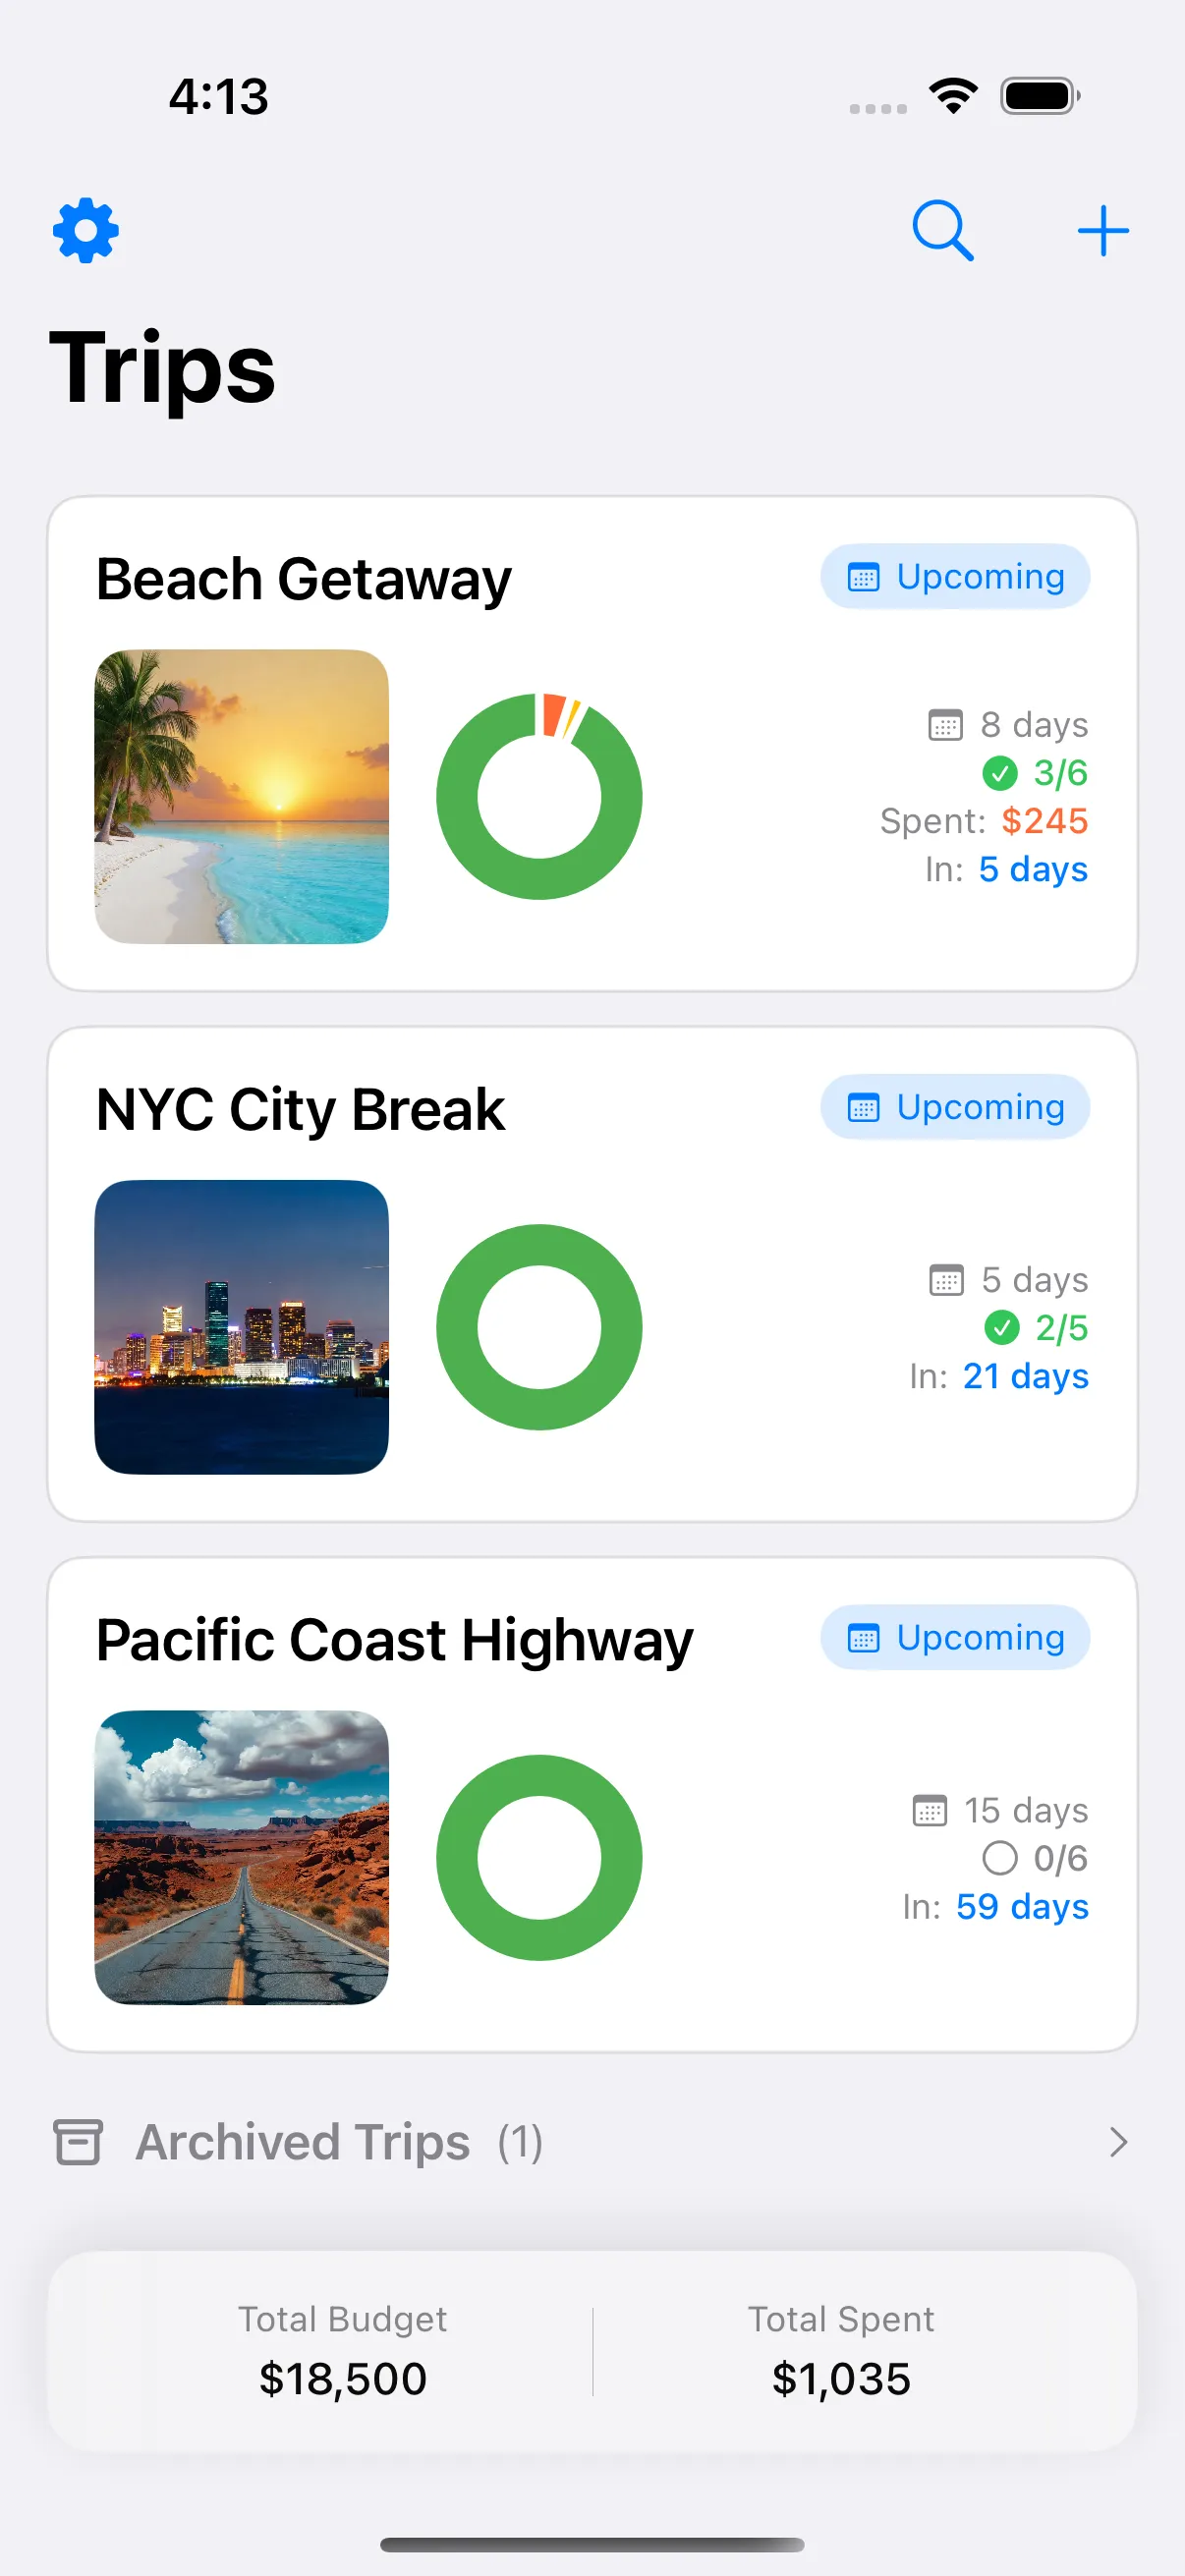
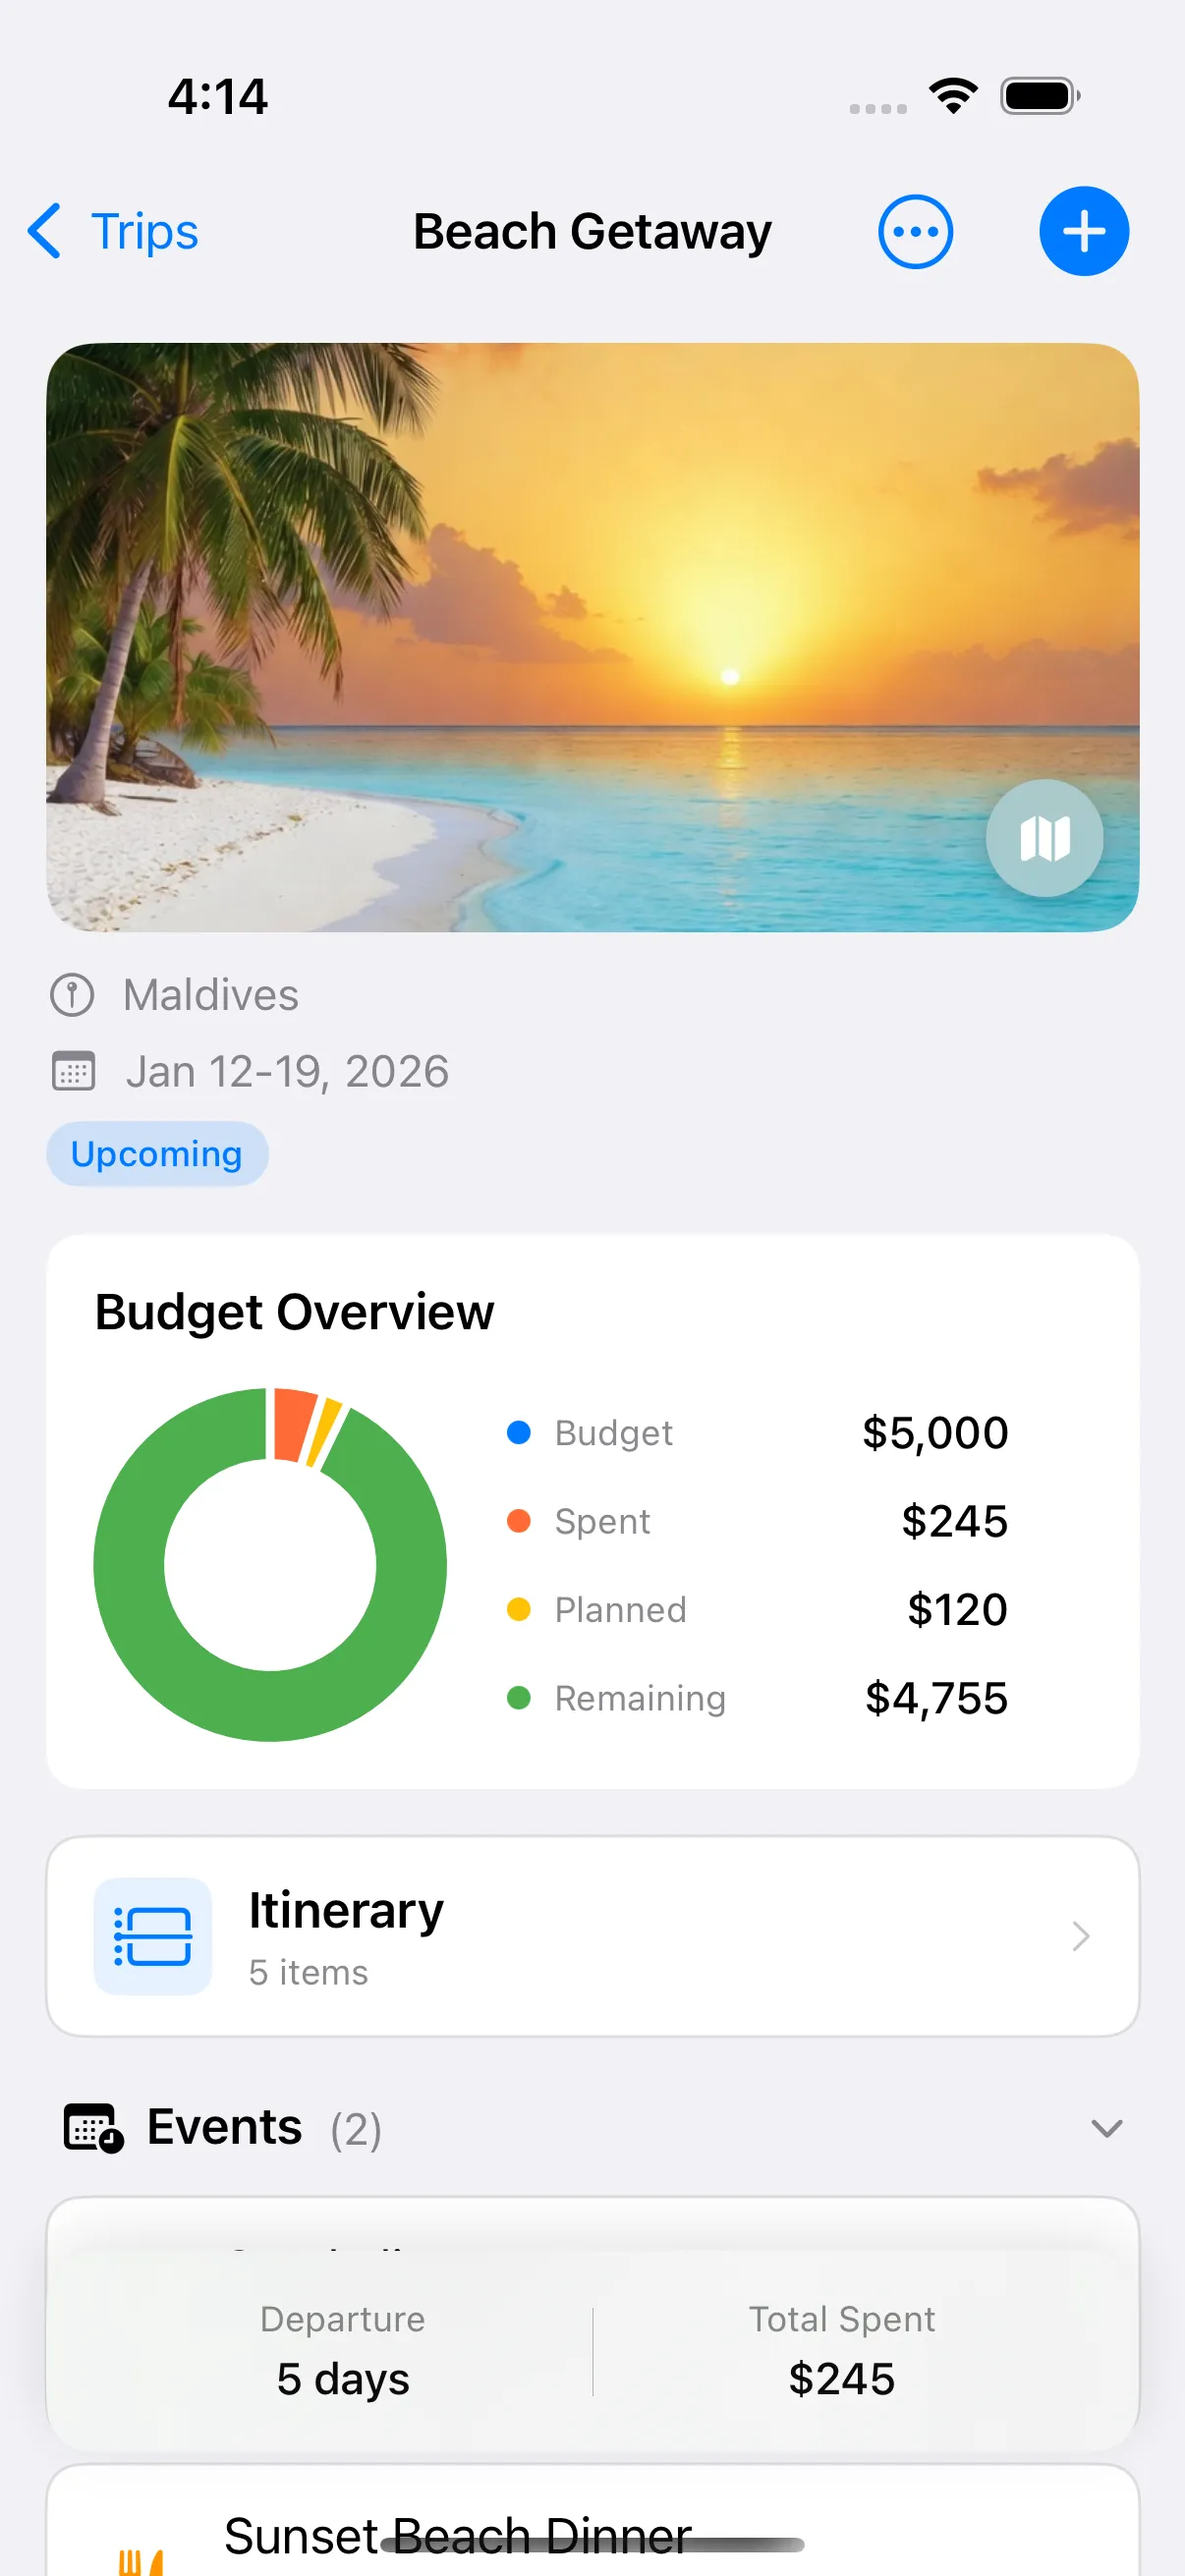
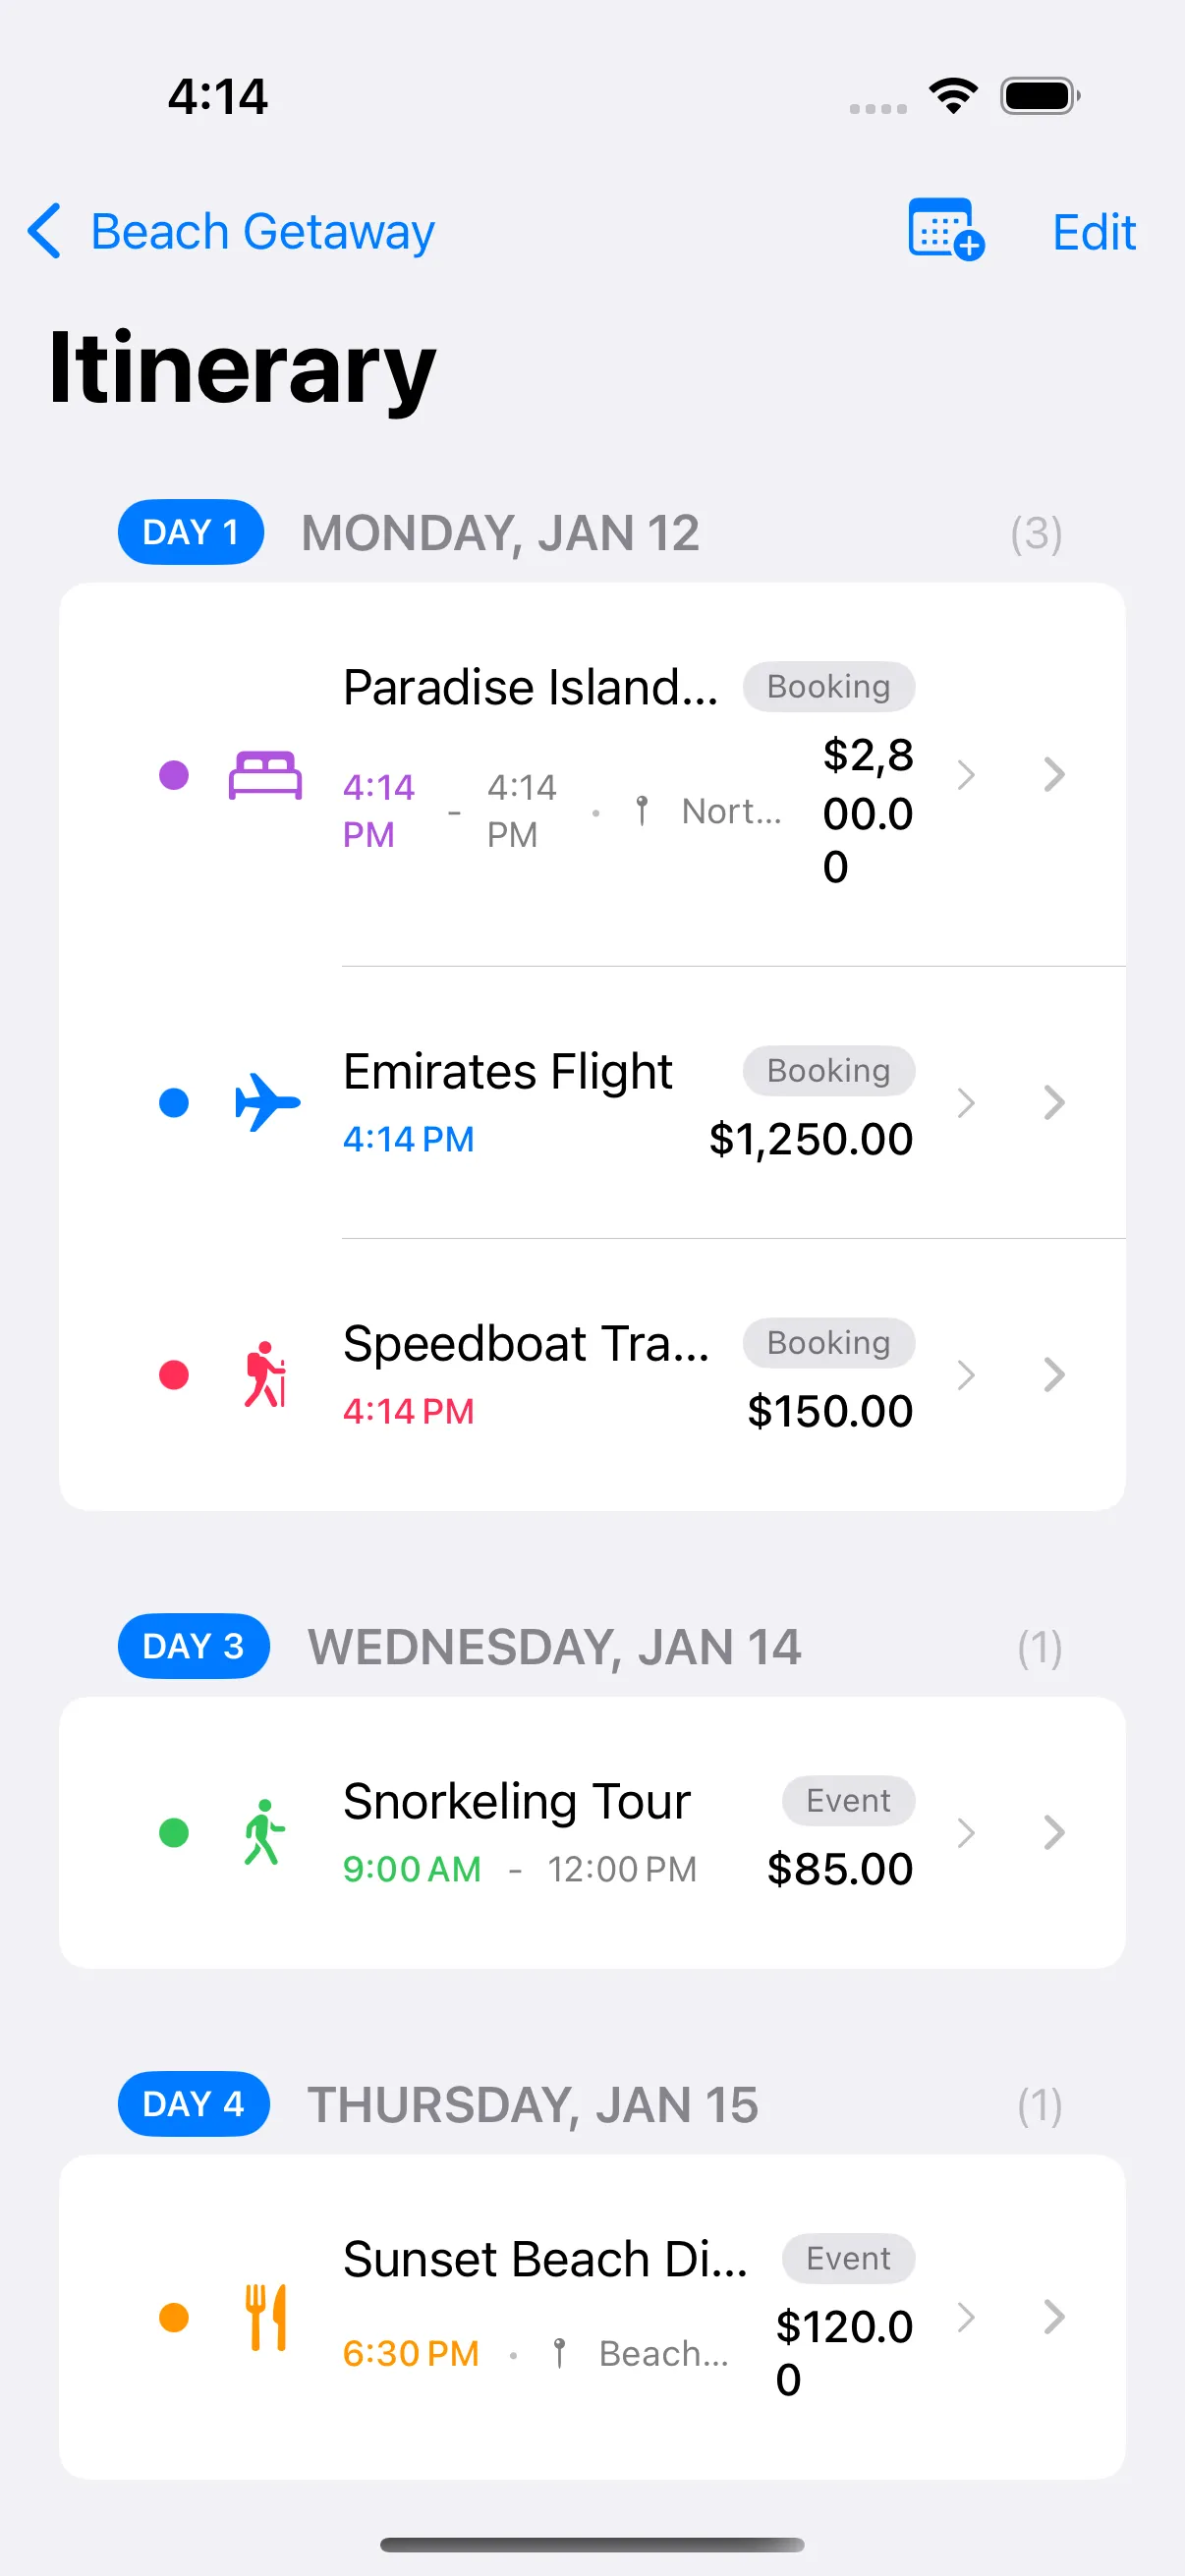
Where should those lines live? Anywhere durable beats nowhere: photo captions, a note on your phone, a paper journal. But the natural home is a trip diary that already knows your trip’s shape. In the free Travel Stories app, your trip already exists as days and places, so you attach keeper photos to the day they belong to and write the story right next to them — offline, on-device, no account — and the result reads back as the trip actually happened, not as a grid of thumbnails. If you kept notes during the trip, this step becomes even easier; our guide to keeping a travel journal covers that habit, and if you stall on what to write, these travel journal prompts will unstick you.
The test for this layer is simple: could someone who was not on the trip flip through your keepers and understand the week? If yes, you have captured meaning, not just images.
Step 4: Back up the originals (10 minutes, mostly waiting)
Organizing photos you subsequently lose is a poor trade, so close the loop:
- Confirm cloud sync actually finished. iCloud Photos and Google Photos both pause uploads on low battery or poor Wi-Fi, and a trip’s worth of video can take a day to clear. Open the app and check for “backup complete” — do not assume.
- Add a second, independent copy. The 3-2-1 principle in its lightest form: originals on the phone, one cloud copy, and one copy somewhere else — a periodic import to a computer or an external drive covers it. Cloud sync alone is not a backup; a sync faithfully propagates an accidental deletion to every device.
- Pull in other people’s photos now. Ask travel companions for their shots within the week, while the trip is fresh and the shared album still exists. Add any of theirs that earn it to your keepers — often someone else caught the moment you were in.
A realistic first-week schedule
You do not need a free afternoon; you need three short sessions:
| When | Task | Time |
|---|---|---|
| Day 1-2 home | Pass one: fast favorites sweep | 20-30 min |
| Day 1-2 home | Pass two: cut near-duplicates | 10-20 min |
| Day 2-3 | Trip album + day order; start backup, request friends’ photos | 20-30 min |
| Day 3-7 | One-line story for each keeper, in day order | 30-45 min |
| Day 7 | Verify backups complete; second copy | 10 min |
Roughly two hours total, and every minute is front-loaded to when your memory is still sharp. Photo sorting also slots neatly into the other small jobs of arriving home — laundry, expenses, unpacking — which is why it earns a line on our full post-trip checklist.
What if you have a backlog of old trips?
Do not start there. Apply this workflow to your most recent trip first — its stories are the only ones still rescuable at full detail. For older trips, accept the trade honestly: you can still cull and build trip albums any time, and it is still worth doing, but the one-line stories will be thinner, reconstructed from the photos rather than remembered around them. Work backwards one trip at a time, whenever you have a spare half hour, and treat whatever context you can still recover as a bonus.
Then, for every trip from now on, run the week-one workflow while the stories are still yours to keep: two culling passes, one album per trip in day order, a line of story per keeper, and a verified backup. The photos were never the hard part — the meaning is, and it has a deadline.
Frequently asked questions
What is the best way to organize travel photos after a trip?
Work in this order: cull first, organize second, annotate third, back up last. Do a fast favorites-only pass through everything, a second pass to remove near-duplicates among the favorites, then move the keepers into a single trip album arranged by day. Finally, write a short note for each keeper about what was happening, and confirm the originals are backed up. The whole workflow fits into about two hours spread over the first week home.
How many travel photos should I keep?
A useful target is 5-10% of what you shot. A one-week trip that produced 800 photos usually distils to 40-80 genuine keepers — the ones you would actually show someone or want to see again in ten years. Keeping everything is not organizing; it just moves the problem to future you. You can archive the rest rather than delete it if letting go feels drastic.
Should I organize photos by date or by trip?
By trip, with dates inside it. Your camera roll is already sorted by date, so a date-only structure adds nothing. One album per trip, with photos in day order inside it, matches how you actually remember travel — as trips and days, not as calendar timestamps. Name albums with the year first, like '2026 Portugal', so they also sort chronologically.
Is Google Photos or Apple Photos enough to organize travel photos?
They are excellent at storage: backup, search by place or face, albums, and sharing. What they do not capture is meaning — which day of the trip a photo belongs to, what happened just before it, why it mattered. That context lives only in your memory, and it fades within weeks. A trip journal or diary app that pairs photos with day-by-day notes covers that second layer.
How long after a trip should I sort my photos?
Start within 48 hours and finish within a week. Research on autobiographical memory consistently shows detail loss is steepest in the first days after an event — the small specifics like names, jokes, and what a place smelled like go first. The photos will wait forever; the stories behind them will not. A week later you can still write them down; a year later you are guessing.
Keep reading
How to Keep a Travel Journal You'll Actually Maintain
A realistic travel journal method: 5 minutes a day, one line plus a photo, prompts that beat 'dear diary', and how to turn a trip into a story you revisit.

The Post-Trip Checklist: 12 Things to Do the Week You Get Home
A 12-item post trip checklist covering finances, unpacking, photo organizing, and journaling — everything to close out a trip in the week after you land.

50 Travel Journal Prompts (For Before, During, and After the Trip)
50 travel journal prompts split across before, during, and after your trip — arrival days, food, people, hard moments, and post-trip reflection.